
Step 1: Open Connectors
- Log in to Bud AI Foundry.
- Click Connectors in the left sidebar.
- Stay on the Connectors tab to browse registry connectors.
Step 2: Choose a Connector
- Use search to filter the registry.
- Open the connector card you want to configure.
- Review the connector metadata, authentication type, and tags.
Step 3: Add a Connection
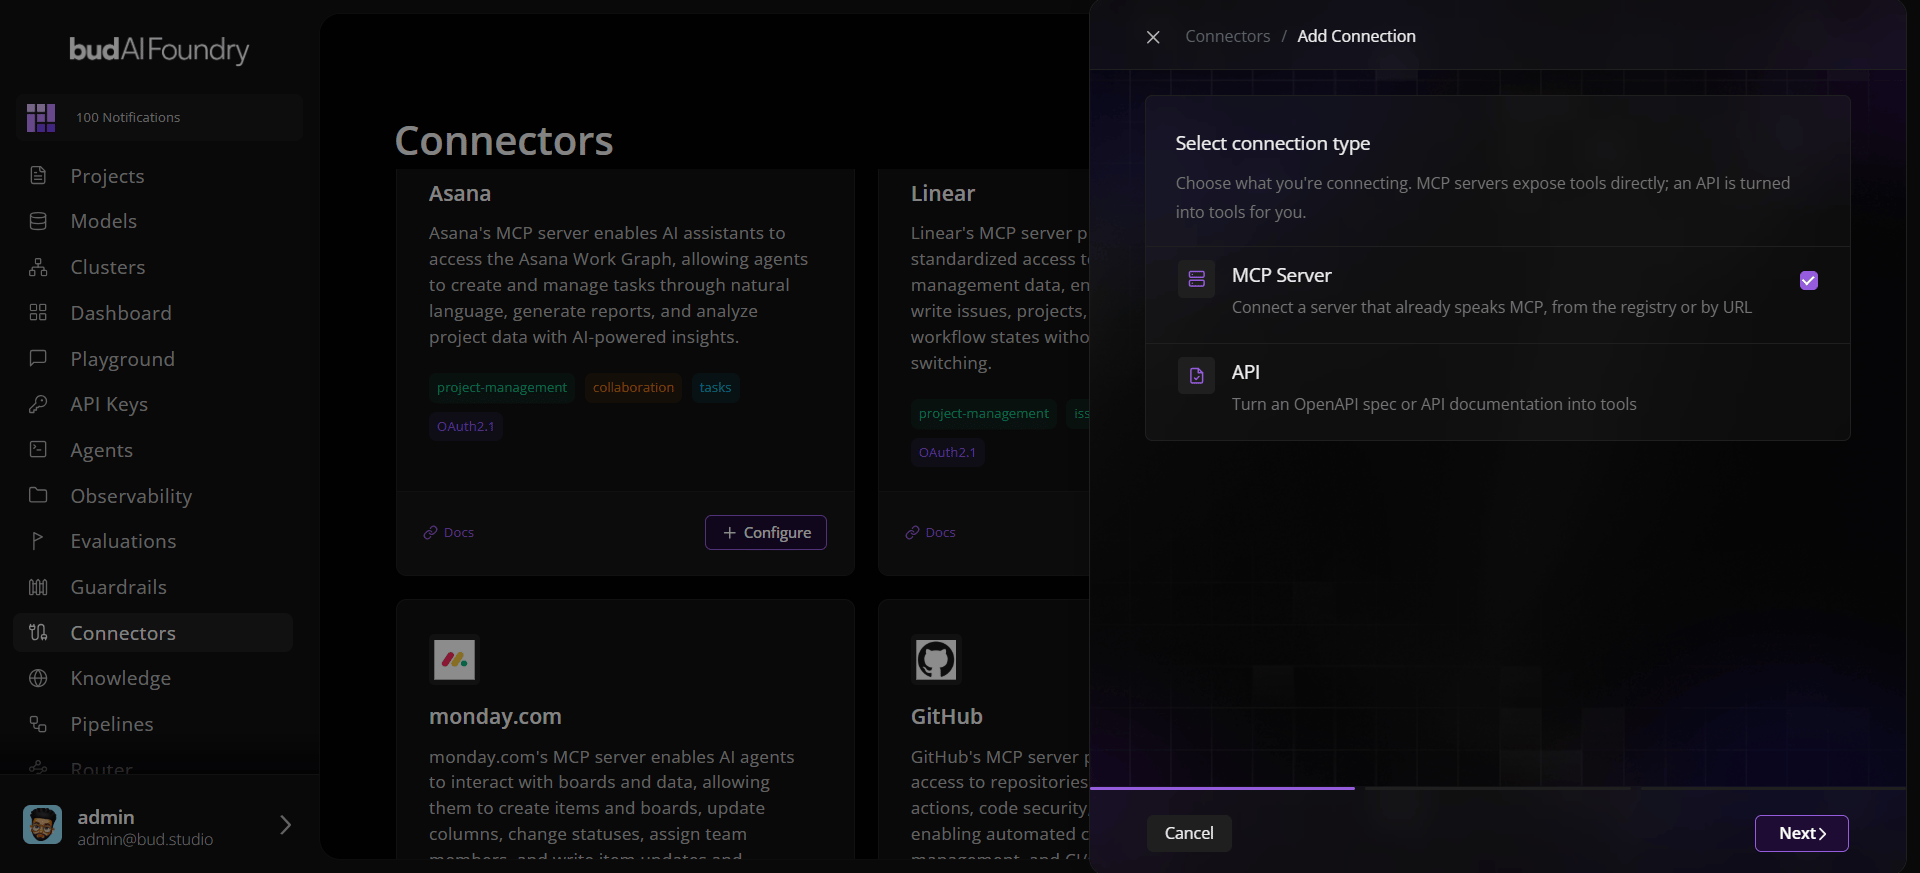
- Click Add Connection.
- Select connection type (MCP Server or API).
- Enter the connector credentials.
- Choose the agent visibility scope:
- Global: available to all projects.
- Projects: available only to selected projects.
- Save the connection.
Step 4: Authorize When Needed
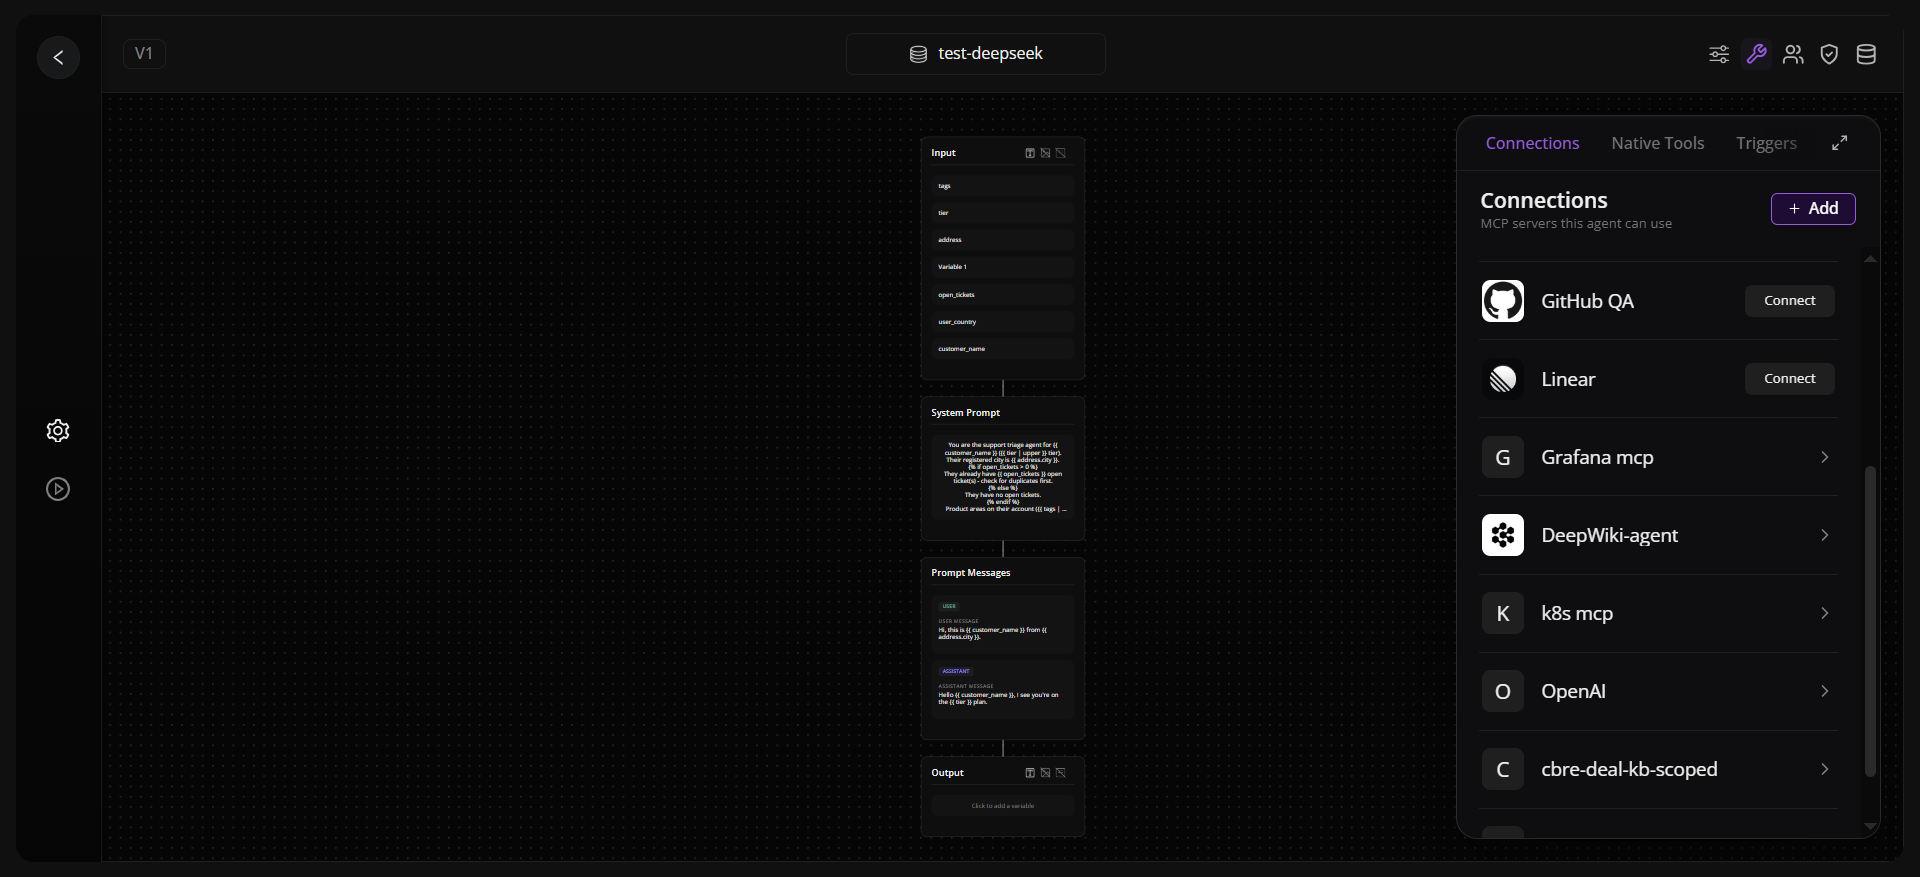
OAuth connectors require a user authorization step before tools can be fetched.- Open the connection from an agent’s Connections panel.
- Click Connect or Authorize.
- Complete the provider consent screen.
- Return to Bud Admin after the OAuth callback completes.
Non-OAuth connectors, such as API key, headers, or open connectors, do not require an OAuth redirect.
Step 5: Attach Tools to an Agent
- Open an agent builder or edit screen.
- Open Connections.
- Expand the connection.
- Select the tools the agent should be allowed to use.
- Click Add to agent.
Step 6: Manage the Connection
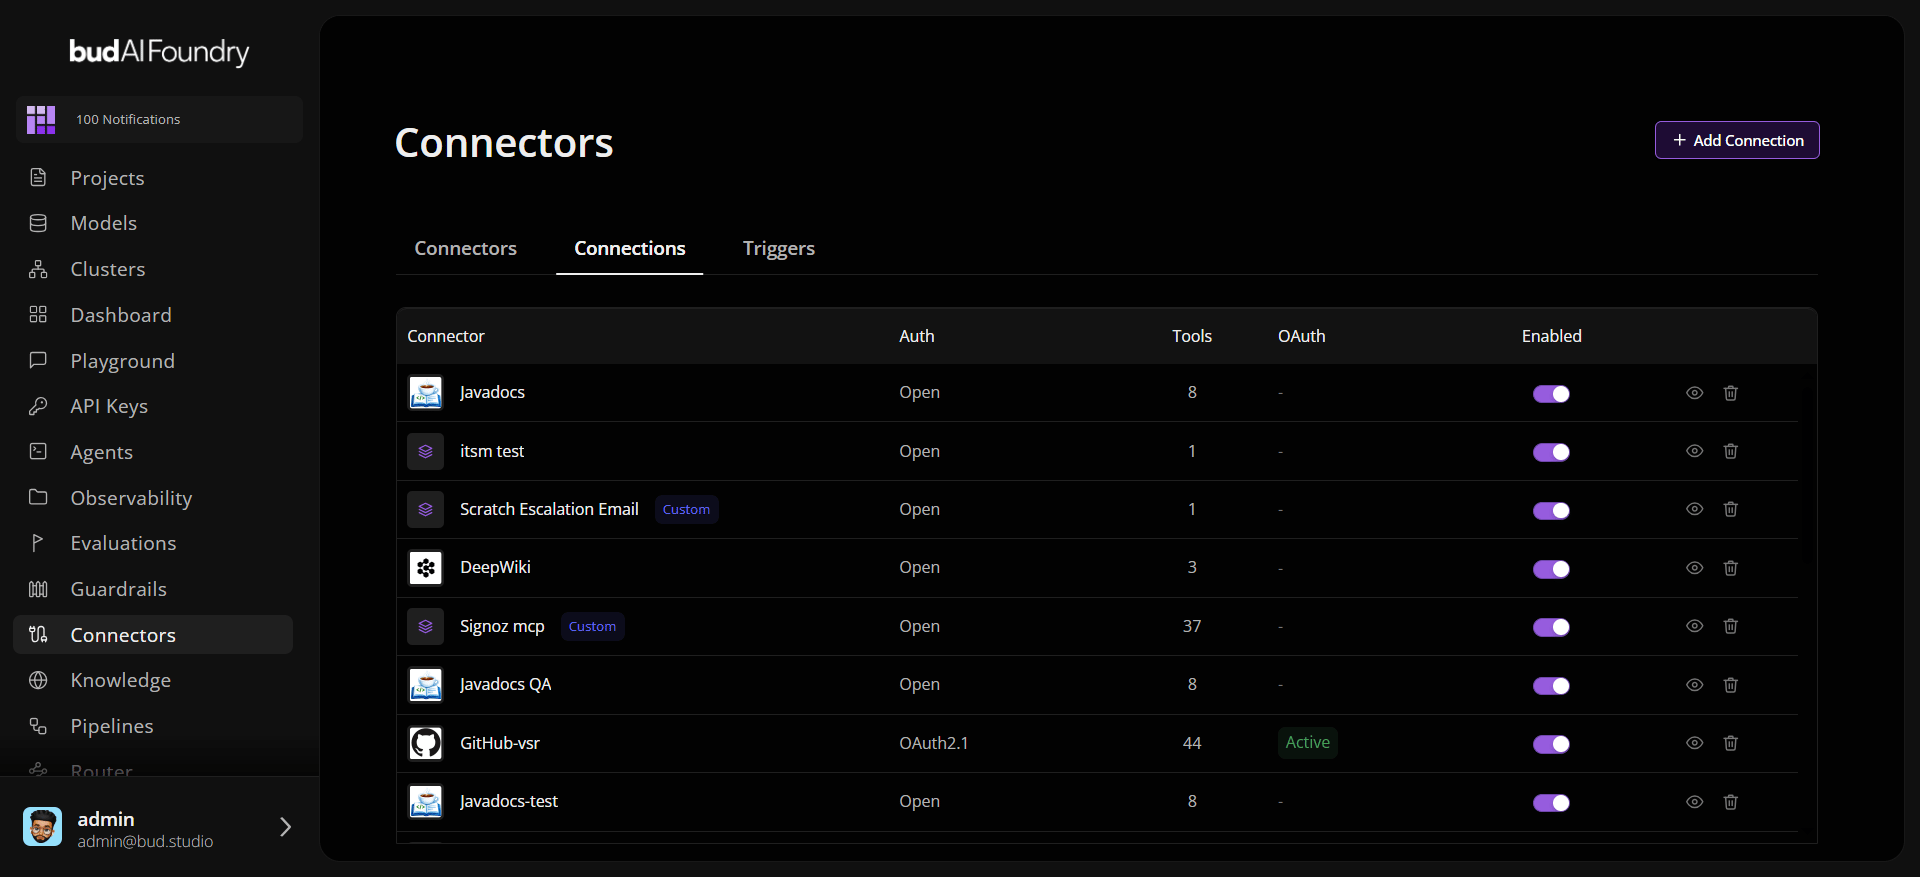
Use the Connections tab on the Connectors page to:- Enable or disable a configured connector.
- Update client and agent visibility tags.
- Rename or inspect gateway details.
- Delete connections that should no longer be used.
Next Steps
Connector Concepts
Understand how registry connectors, gateways, tools, scopes, and OAuth fit together.
Create Your First Connector
Follow a detailed setup tutorial with validation checkpoints.
Event Connections
Configure shared trigger providers for event-driven agents.
Troubleshooting
Resolve common credential, OAuth, and tool attachment issues.