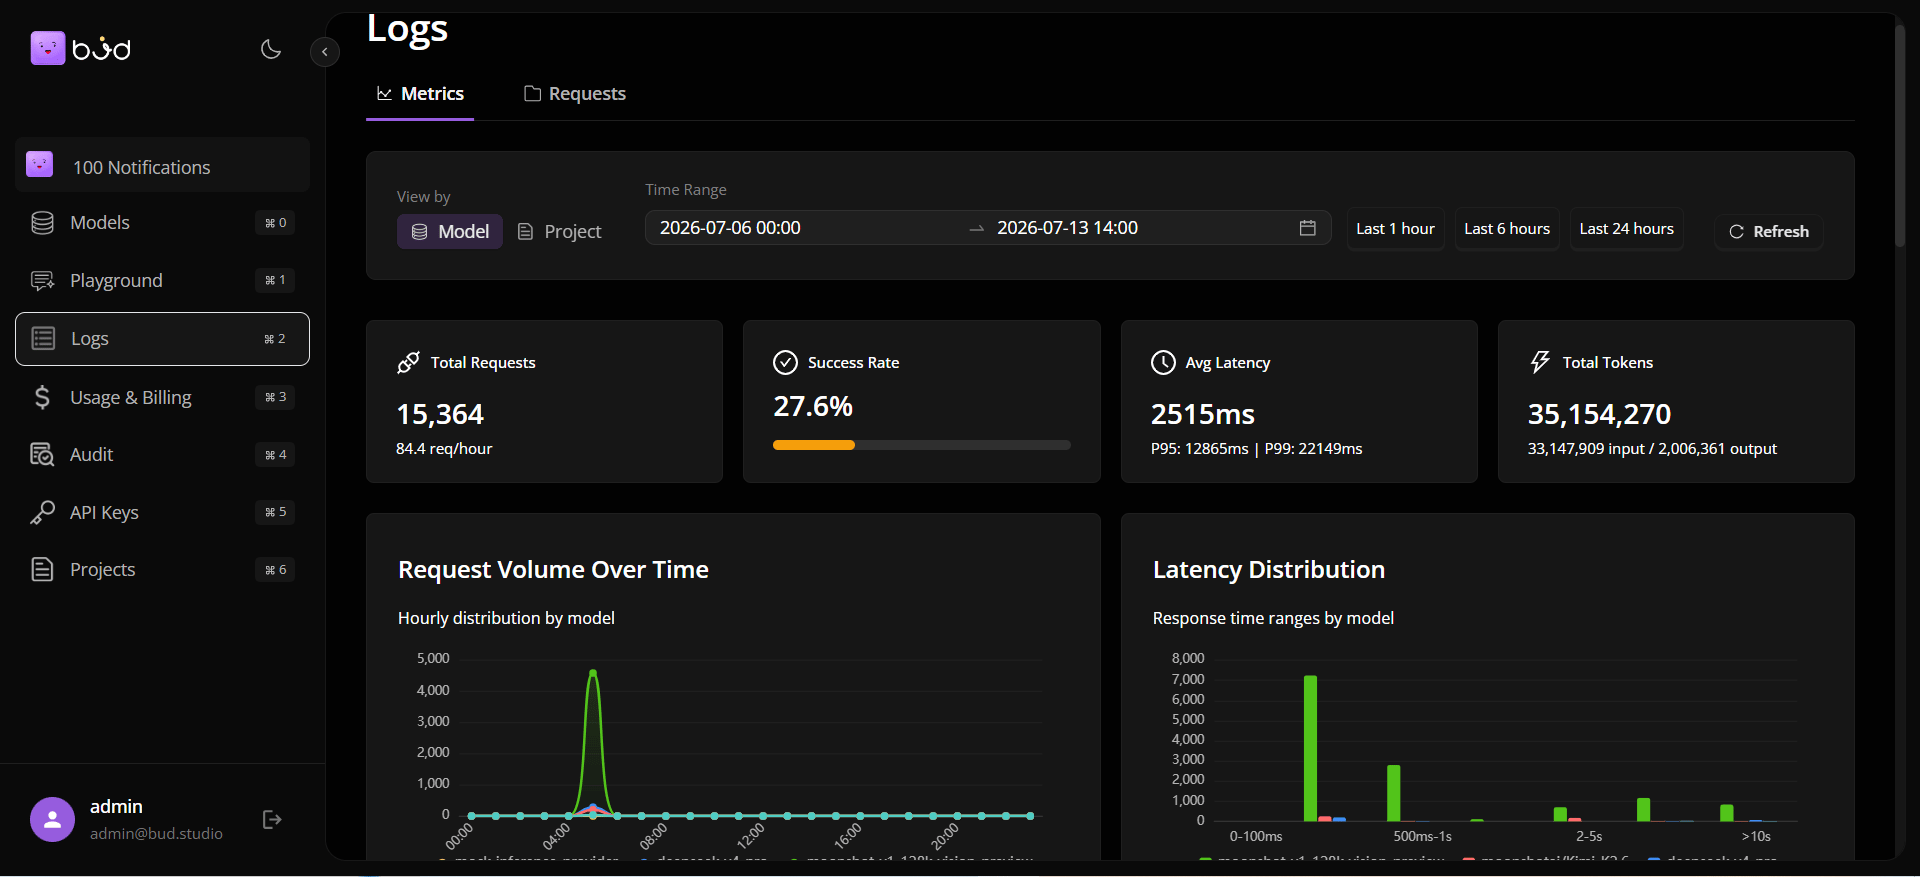
Step 1: Sign in and open the app workspace
- Sign in to Customer Dashboard Portal.
- Confirm the left navigation includes Models, Playground, Logs, Usage, API Keys, Projects, and Audit.
- Set your preferred theme if needed.
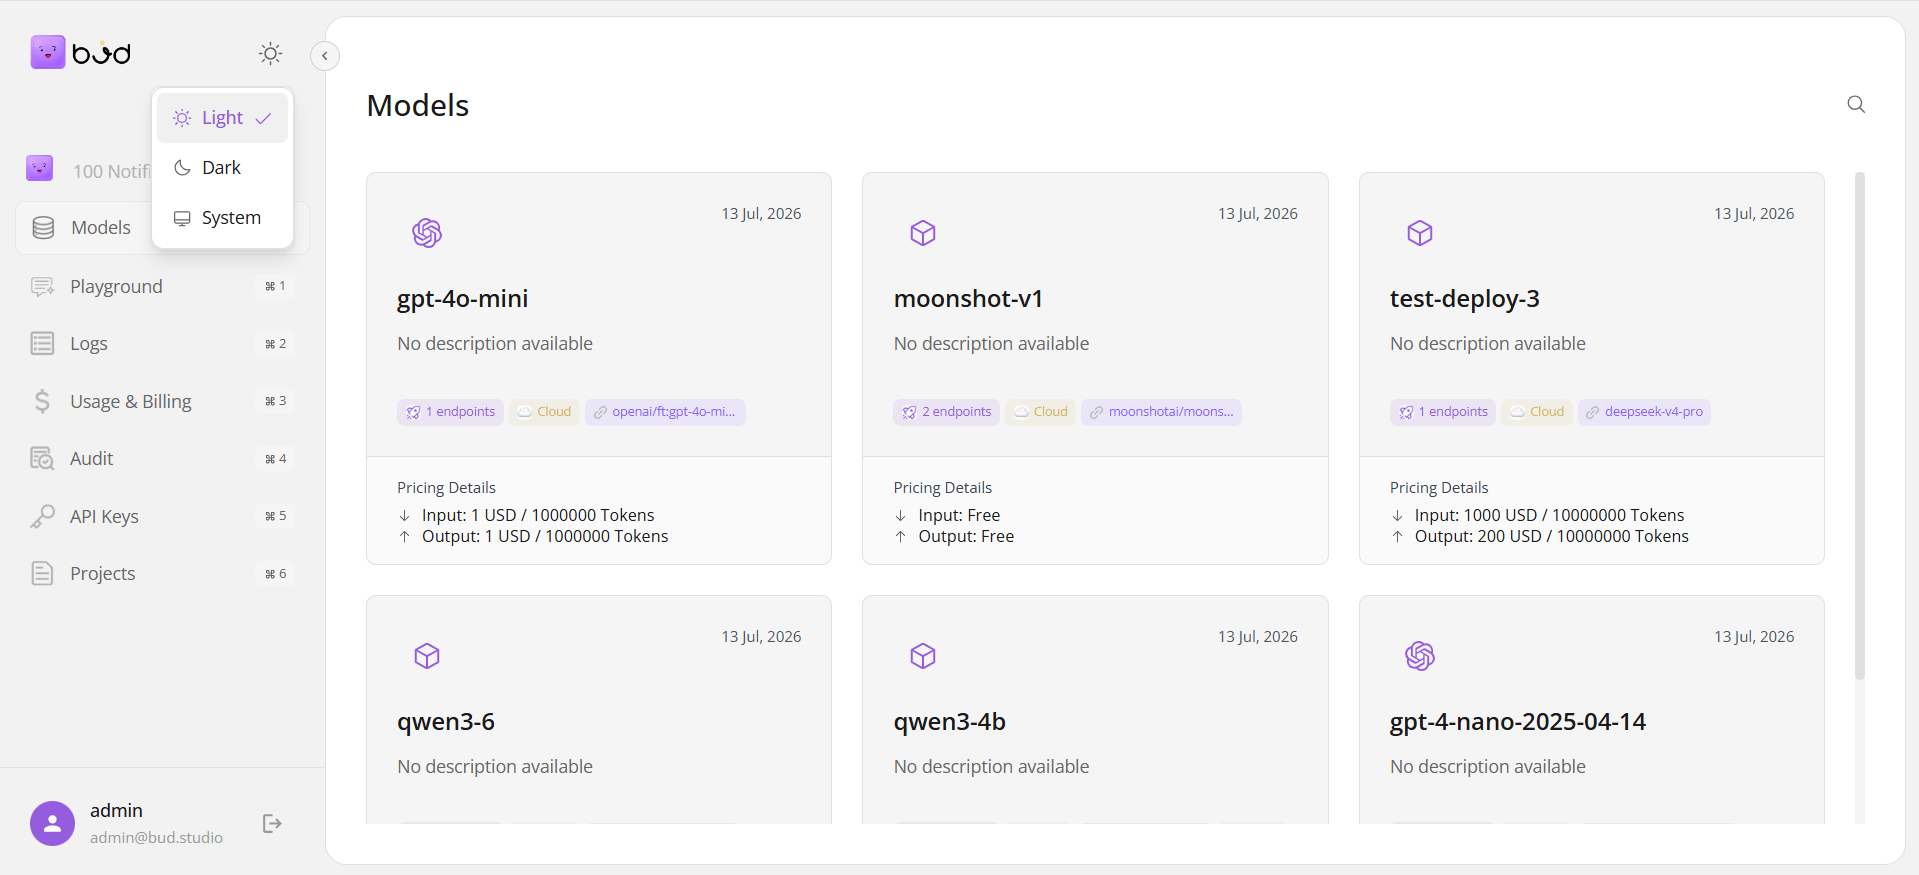
Step 2: Pick or create a project
- Open Projects.
- Create a project if one does not exist.
- Use the project in downstream API key and usage workflows.
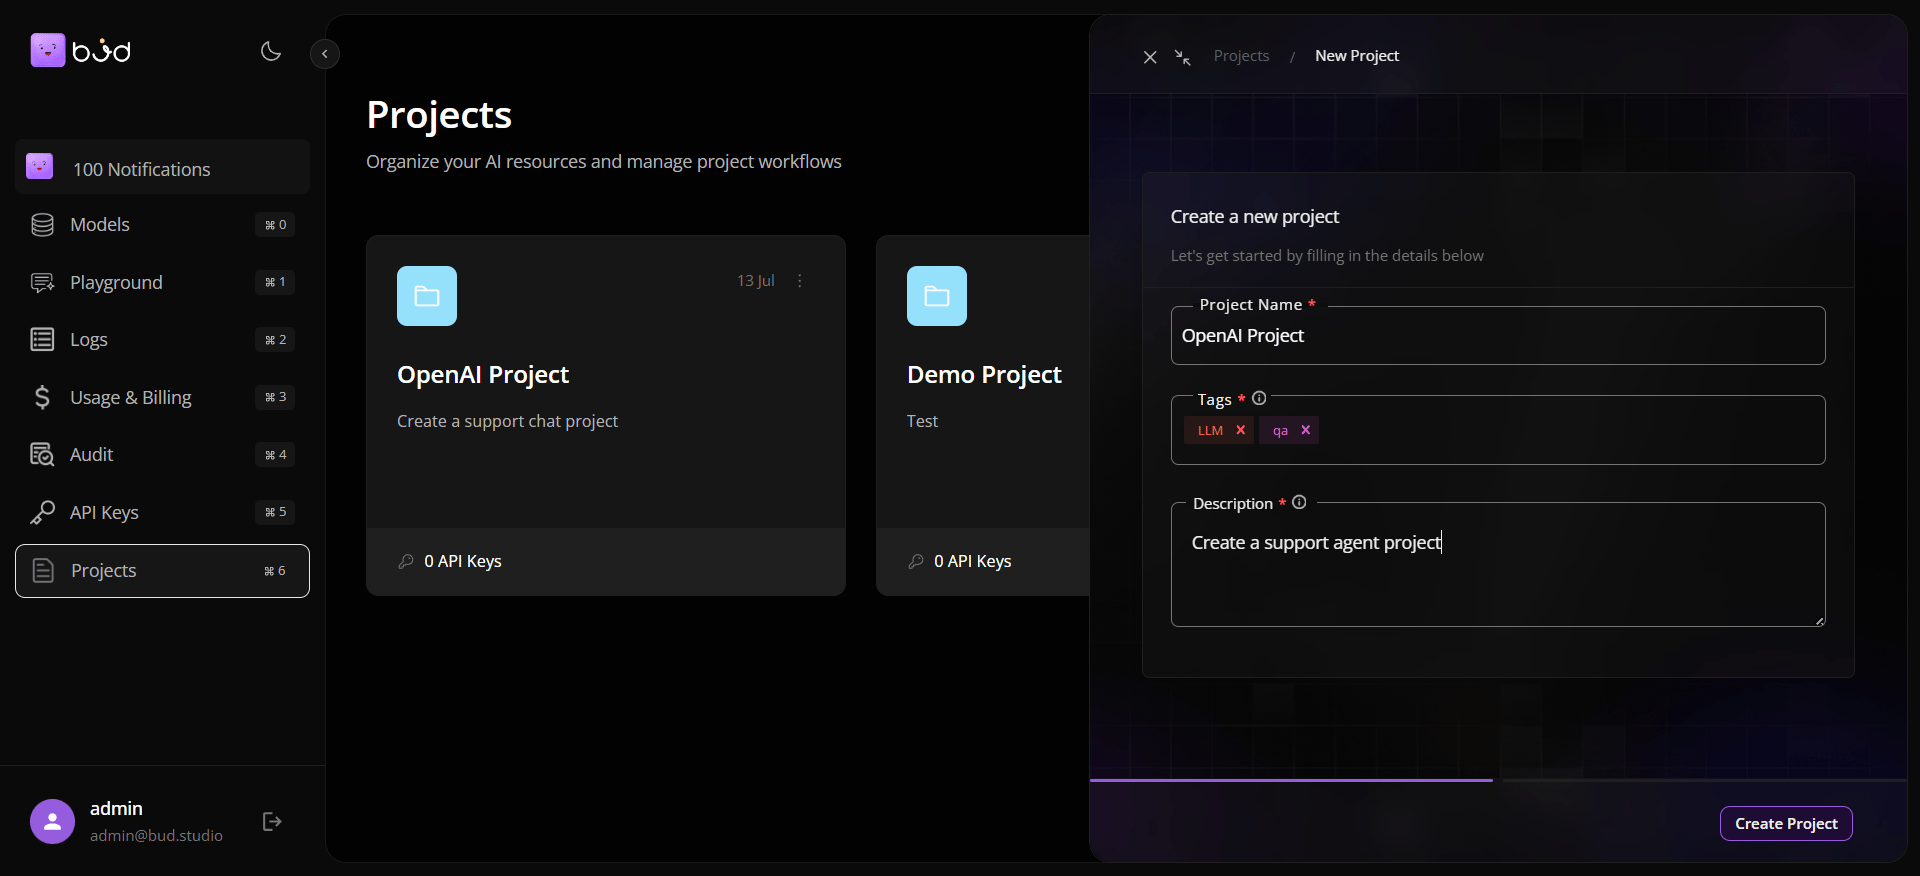
Step 3: Discover a model
- Open Models.
- Search and select a model card.
- In model details, review description, tags, modalities, and supported endpoints.
- Open Use Model and copy a language-specific snippet.
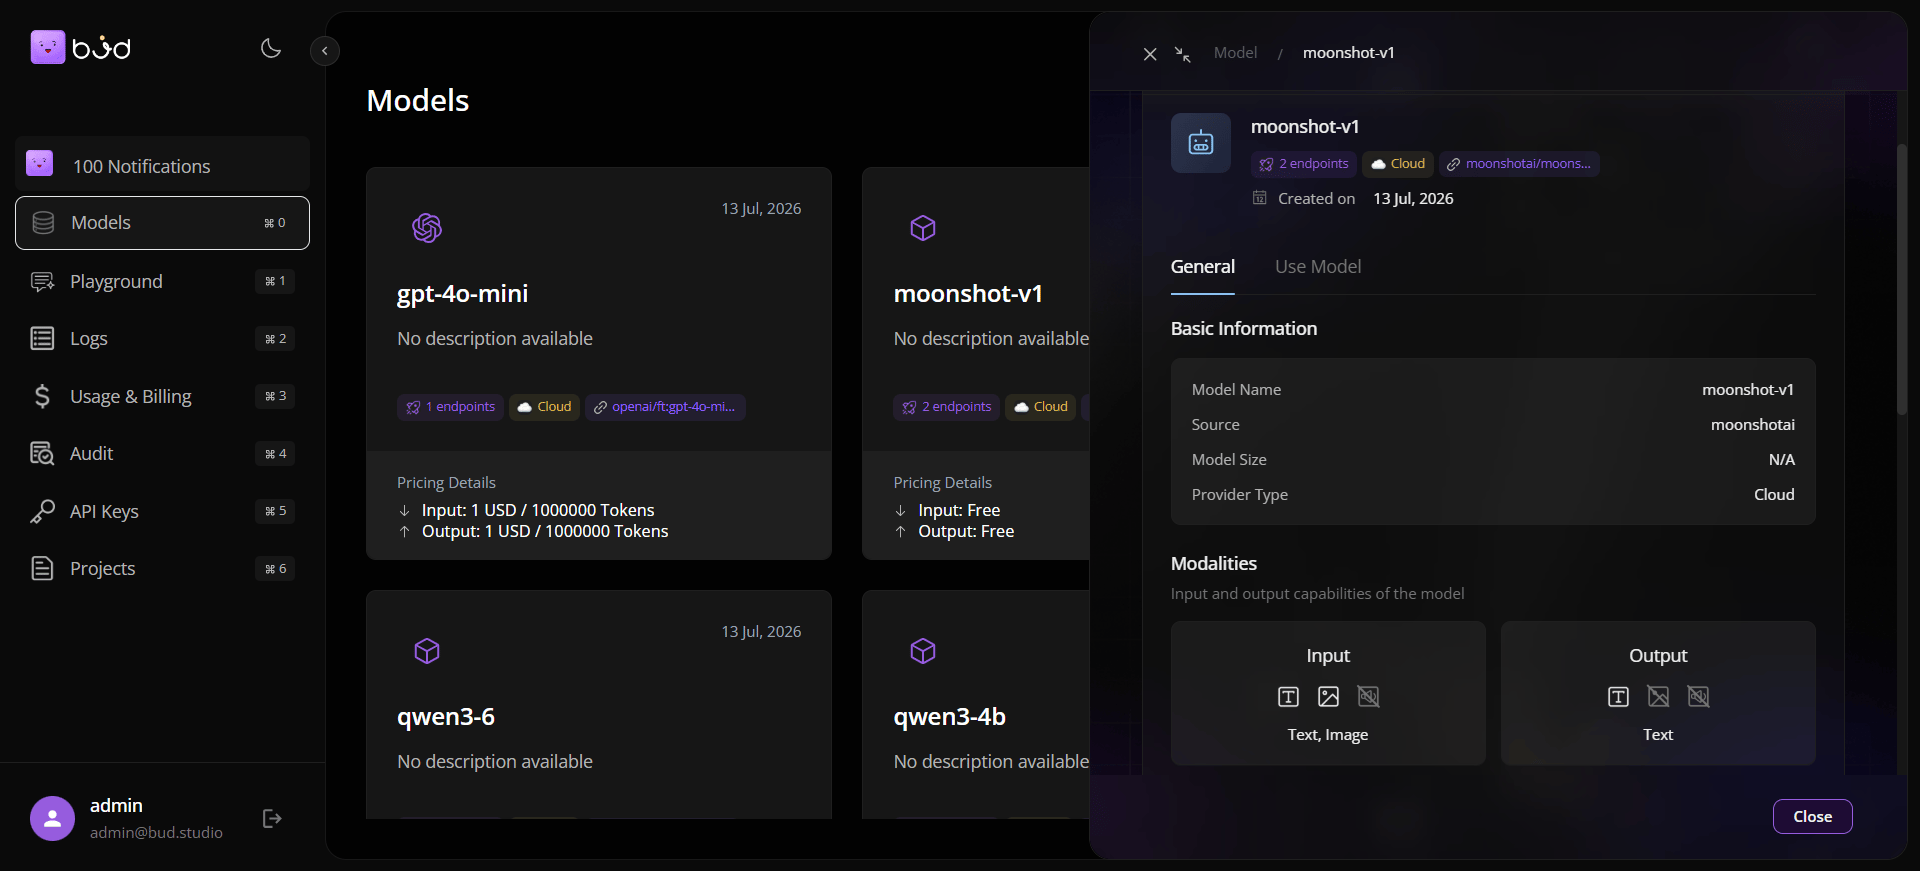
Step 4: Validate in Playground
- Open Playground.
- Select the same model.
- Send a prompt and verify output quality and response time.
- Optionally open additional chat panes for side-by-side comparisons.
Step 5: Create an API key
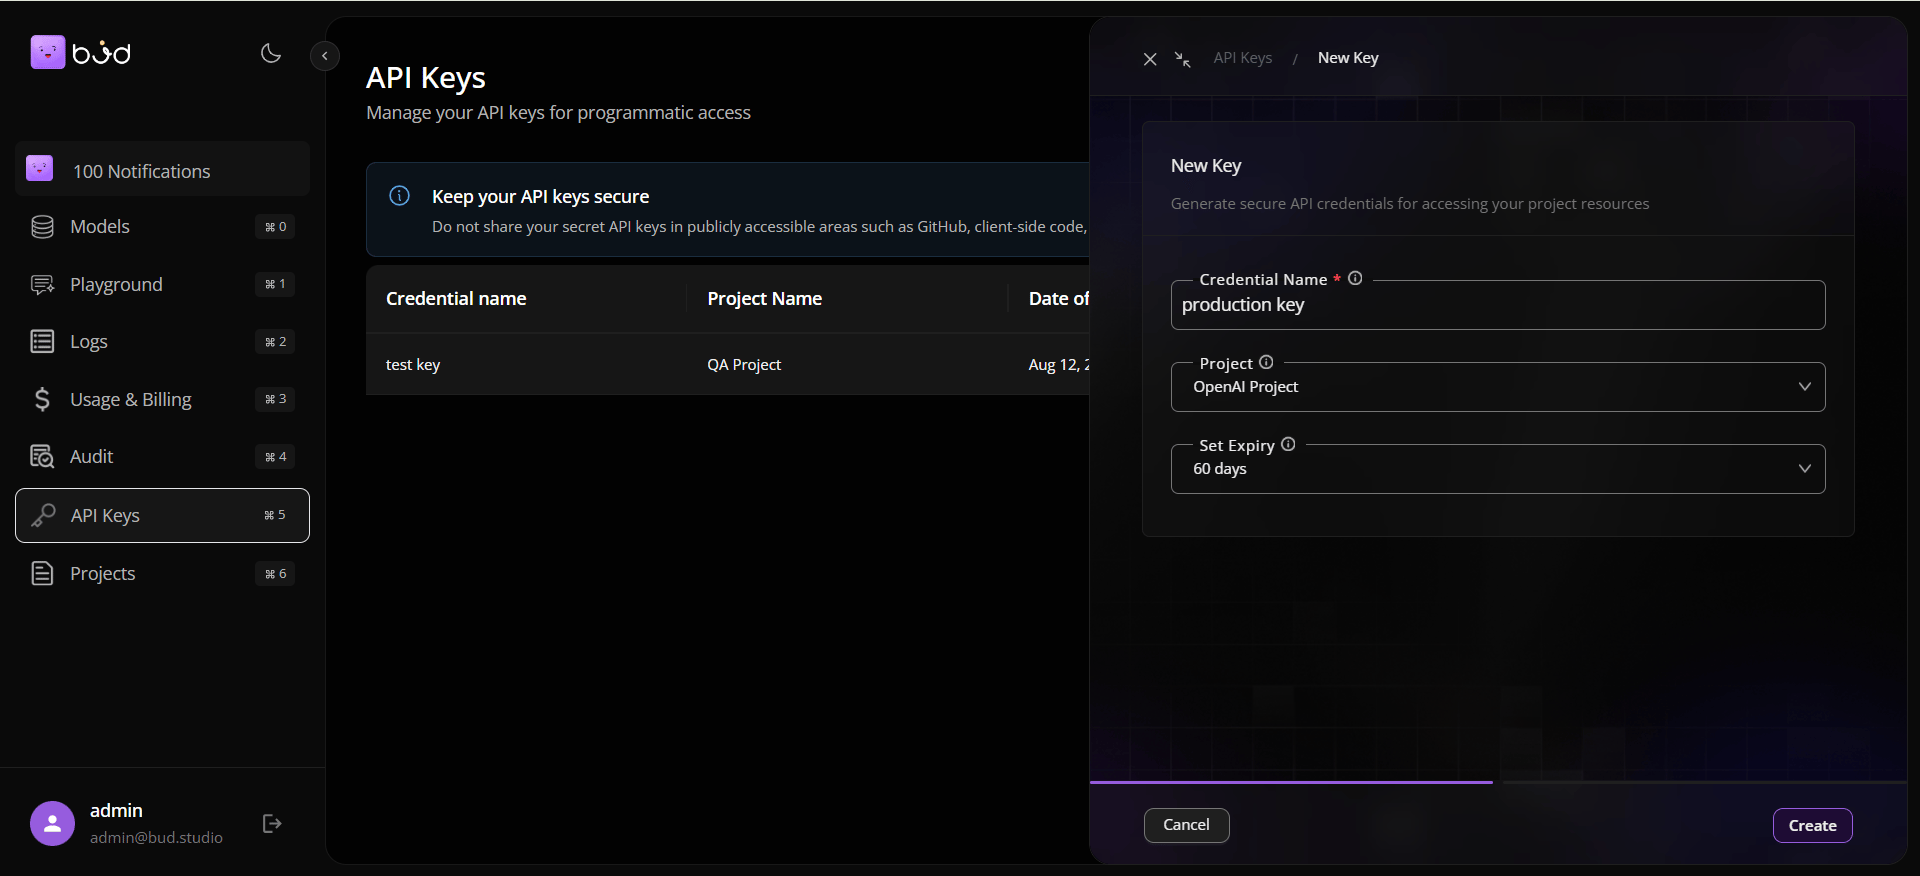
- Open API Keys.
- Click Create New Key.
- Enter key name, choose project, and set expiry.
- Copy and store the key securely.
Step 6: Run your first API call
Use the model snippet from Use Model tab with your generated API key.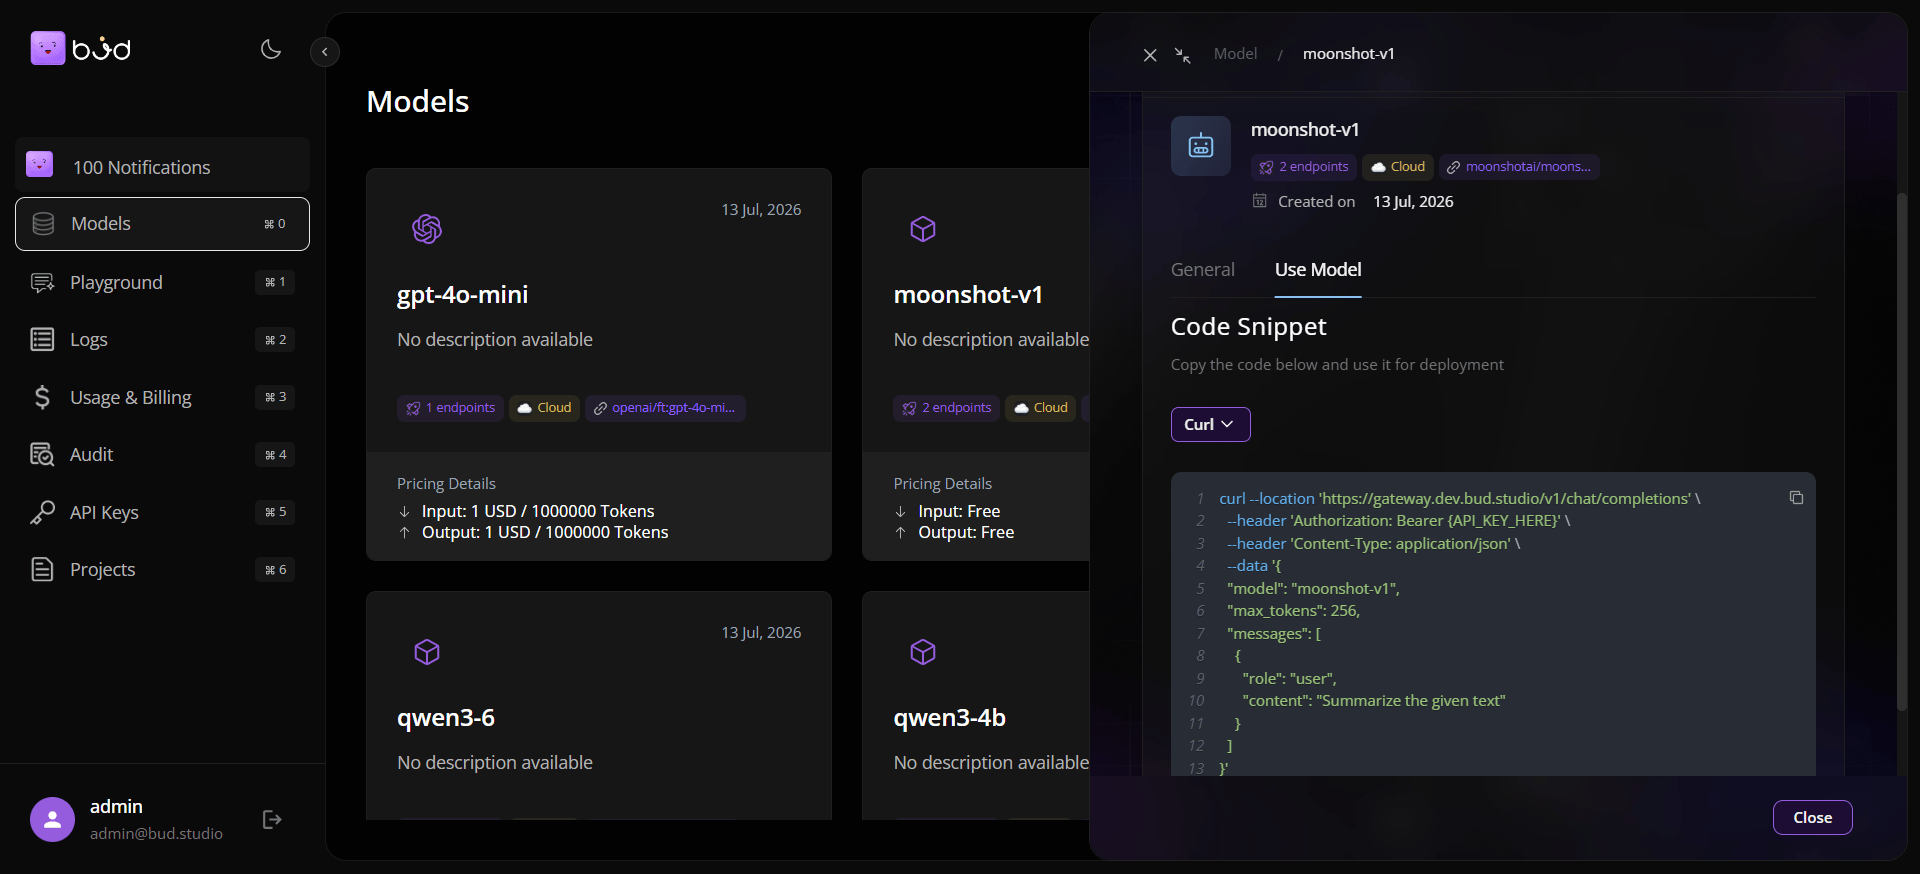
Step 7: Verify telemetry and spend
- Open Logs to inspect metrics and request rows.
- Open Usage to confirm token, request, and cost movement.
- Add a billing alert threshold if needed.