
Overview
Governance policies extend Guardrails from model input and output checks to the broader agentic AI workflow. Traditional LLM apps mostly need to govern how a model interacts with a user. Agentic applications may use multiple models, call tools, inspect enterprise data, and take several actions before completing a task, so policy enforcement must cover every stage where risk can appear. In Bud AI Foundry, a governance policy defines what an agent is allowed to do, which checks it should run, and what should happen when a rule is triggered. Policies are authored in the Guardrails module, deployed to a project, and attached to specific agent versions from the agent builder.When to Use Governance Policies
Use governance policies when an agent must follow organization-specific security, compliance, or responsible AI requirements that are not guaranteed by an off-the-shelf agent. Common examples include:- Blocking prompt injection or jailbreak attempts before a run proceeds.
- Checking tool calls before the agent invokes enterprise systems.
- Redacting sensitive output after a model or tool returns data.
- Notifying reviewers when risky but permissible activity occurs.
- Requiring human approval for high-impact actions.
- Denying access to tools that an agent should never use.
Policy Building Blocks
Conflict Strategies
A single policy can contain multiple rules. If two or more rules apply to the same situation and produce different outcomes, the conflict strategy decides precedence. Bud AI Foundry supports these authoring options:Lifecycle Hooks
Governance rules can run at multiple points in an agent workflow:Create a Governance Policy
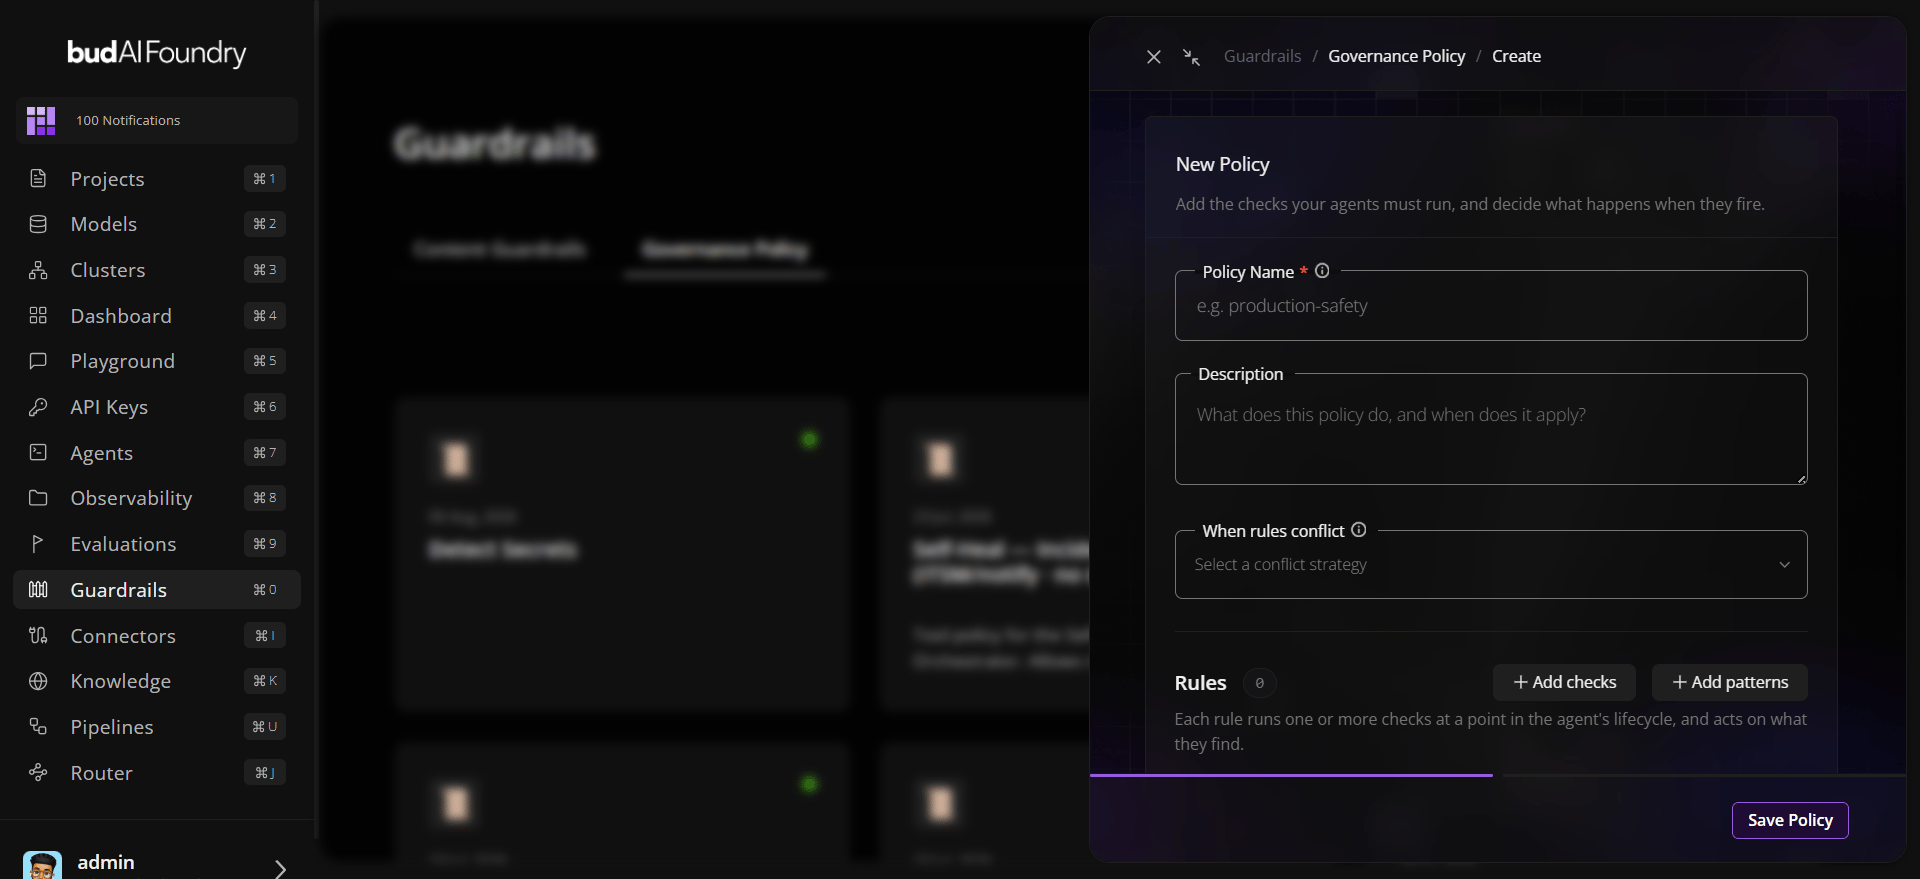
- Sign in to Bud AI Foundry.
- Open Guardrails from the side navigation.
- Select the Governance Policy tab.
- Click Add Policy.
- Enter a policy name and description.
- Select a conflict strategy.
- Add checks from the guardrail catalog, or add action patterns for tool-access controls.
- For each rule, choose when it runs in the agent lifecycle.
- Tune check sensitivity from Lenient to Max.
- Choose the rule outcome: Allow, Redact, Notify, Escalate, or Deny.
- Add optional guidance for agent messaging or handling instructions.
- Add optional filter conditions under Only when.
- Set priority, then save the policy.
Deploy and Attach a Policy
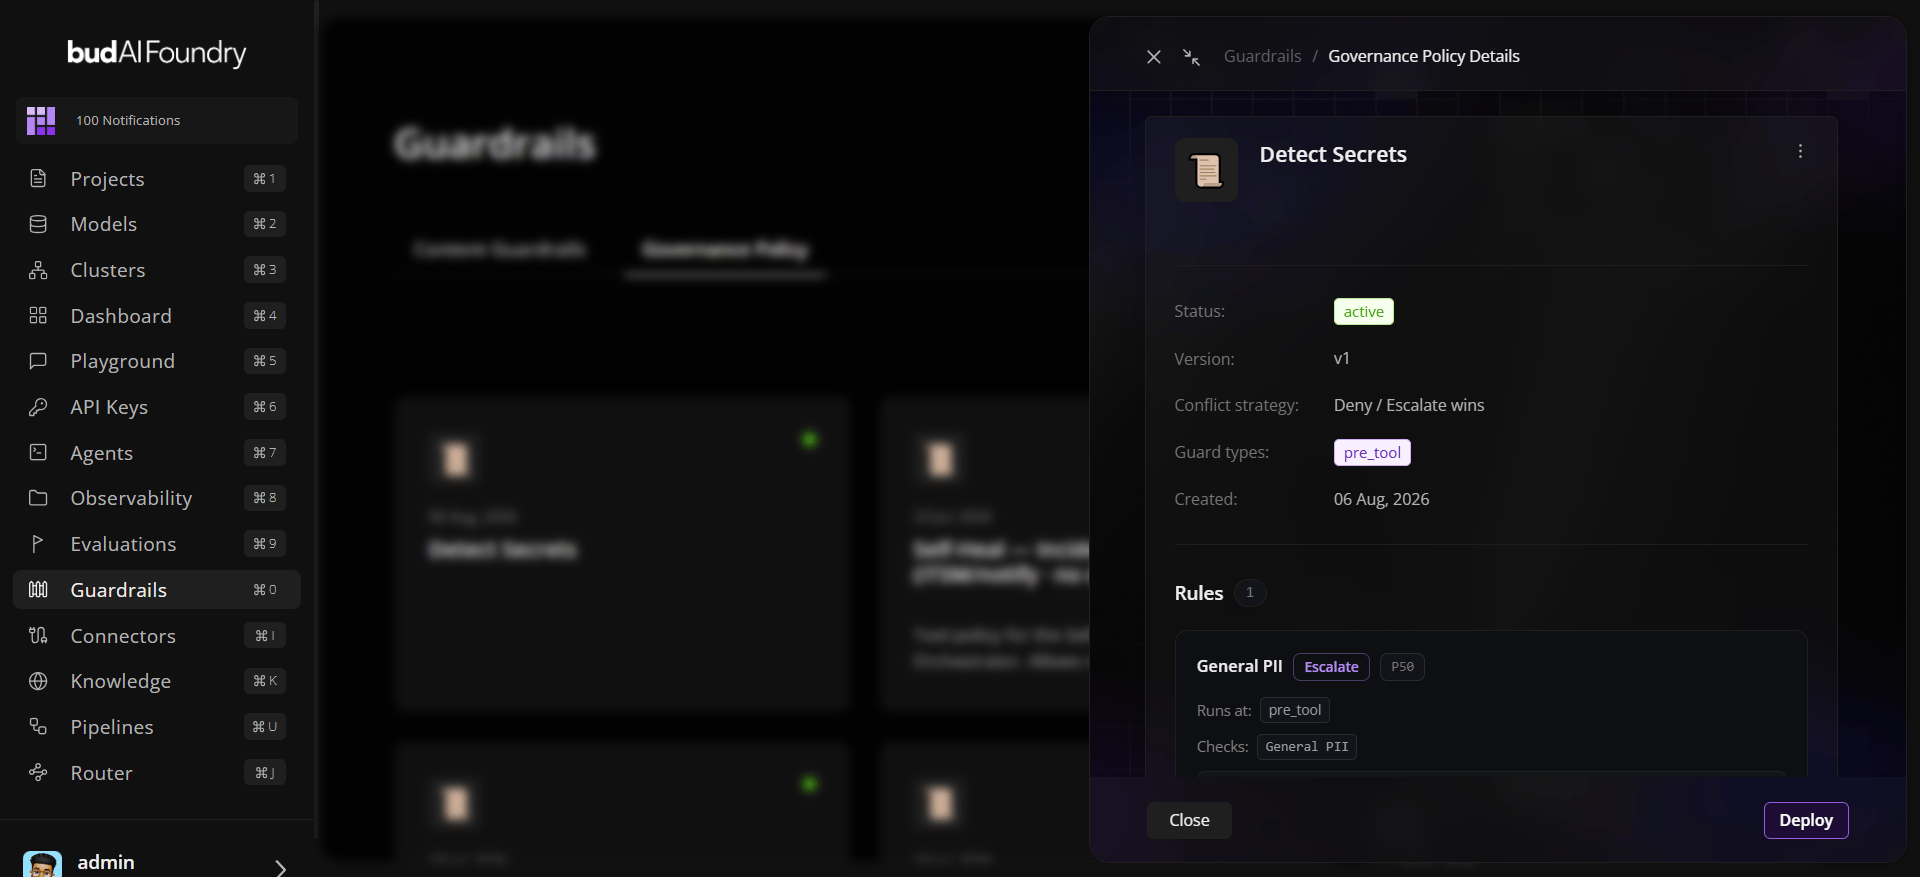
After the policy is saved, deploy it before attaching it to agents:- From the governance policy card or details view, click Deploy.
- Select the project where the policy should be available.
- Bud verifies and onboards the guardrail models required by the selected checks.
- After deployment succeeds, open Projects and select the same project.
- Open Agents, select the target agent, then open Agent Versions.
- Select the version you want to govern.
- In the agent builder, open the Governance section.
- Attach the deployed governance policy to that agent version.
Best Practices
- Start with a small set of high-impact rules, then expand after observing runtime behavior.
- Use Deny / Escalate wins for strict compliance environments.
- Use priorities consistently when several rules may match the same action.
- Provide clear guidance so the agent can explain denials or escalations to users.
- Add filter conditions for context-specific exceptions instead of broad allow rules.
- Review notify and escalation activity regularly to tune policies and reduce noise.