
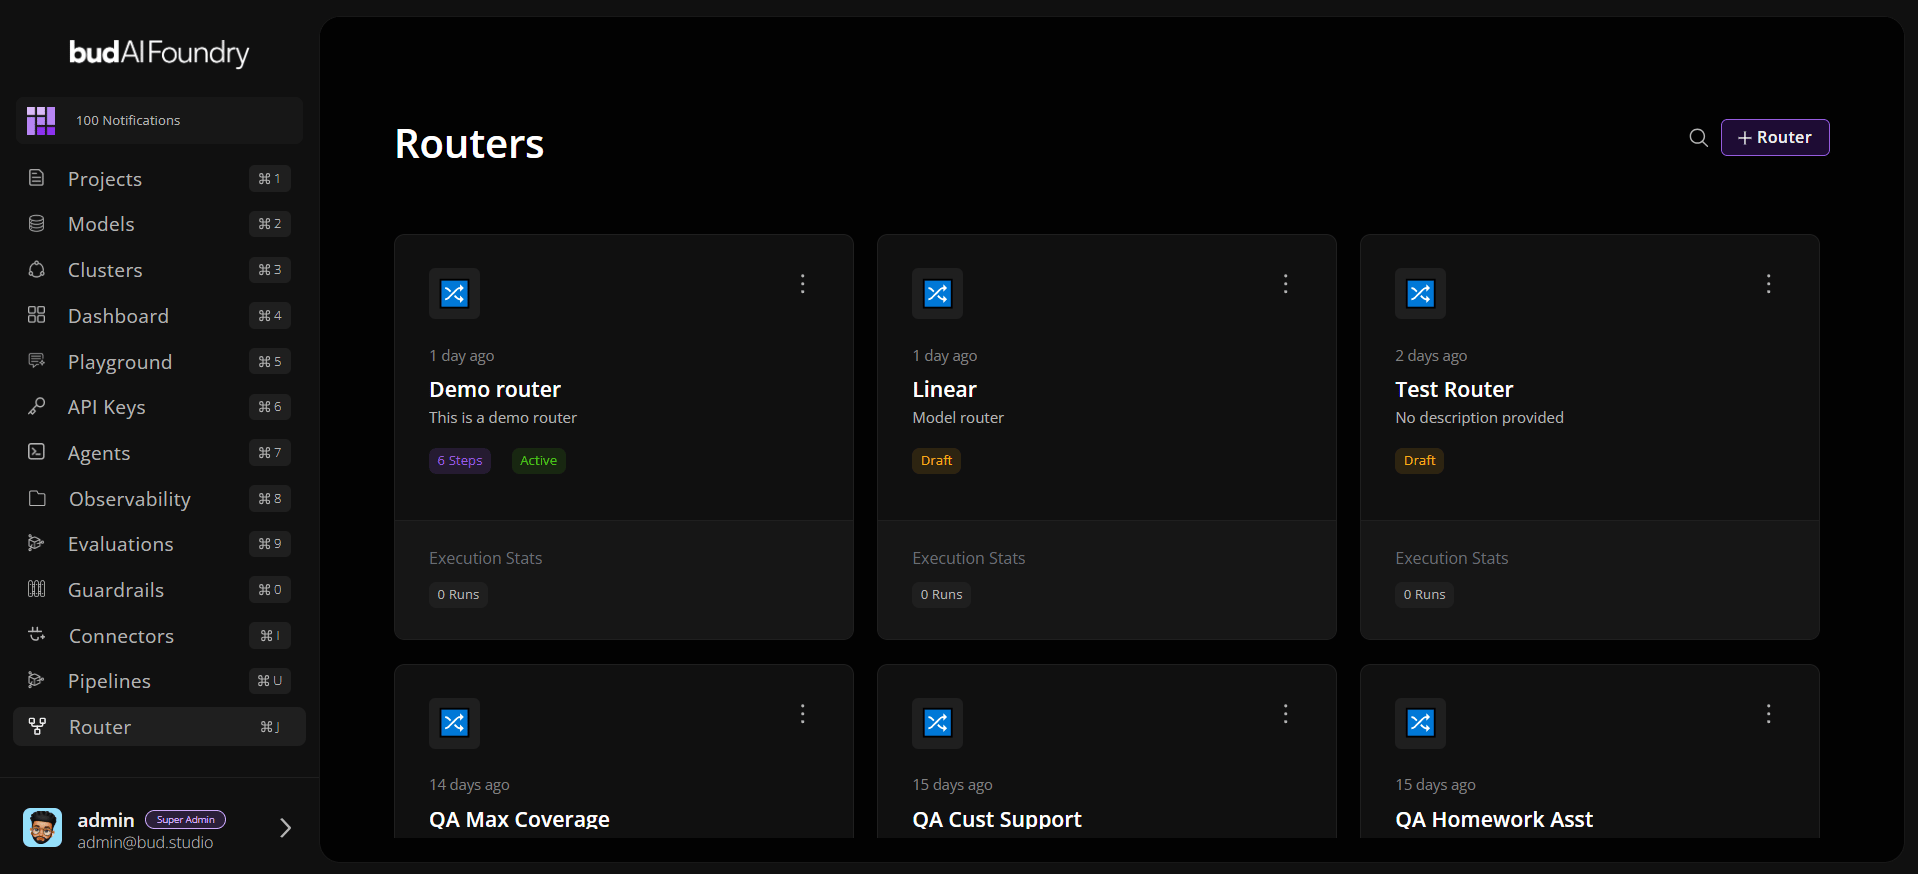
Step 1: Navigate to Routers
- Log in to Bud AI Foundry.
- Open Router from the Bud admin navigation.
- Click + Router.
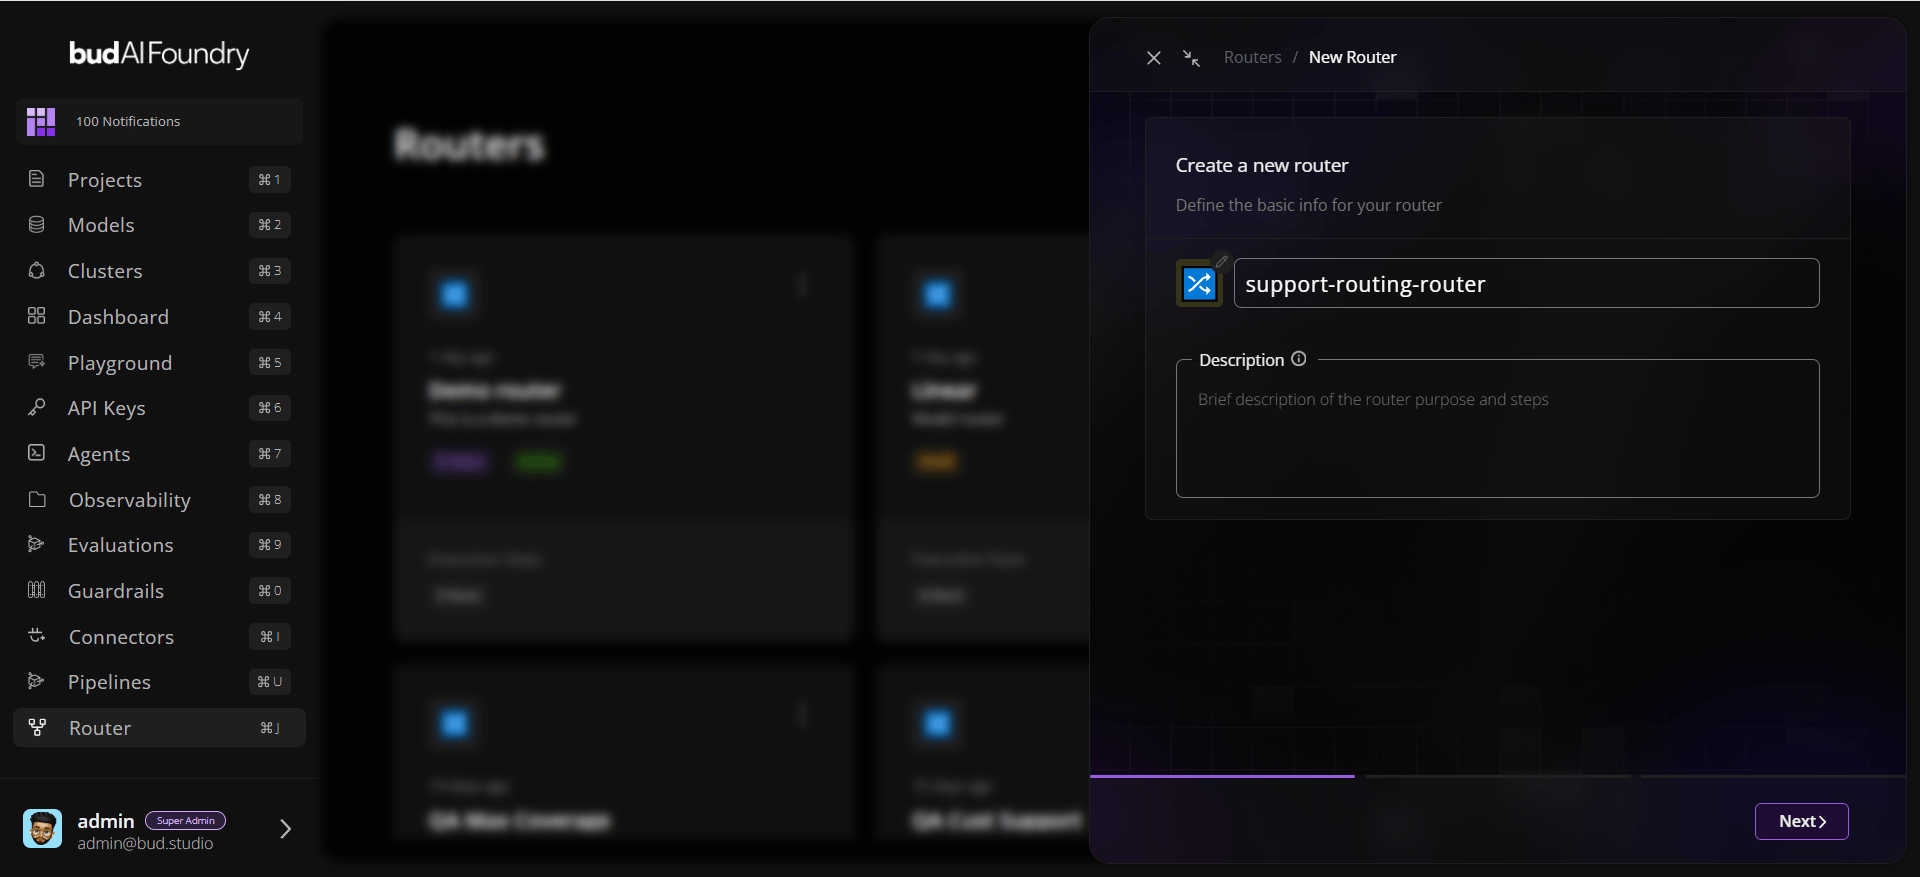
Step 2: Define Router Info
- Enter a clear name, such as
support-routing-router. - Add a description that explains the routing goal.
- Keep the default router icon or choose an icon for easier scanning.
- Click Next.
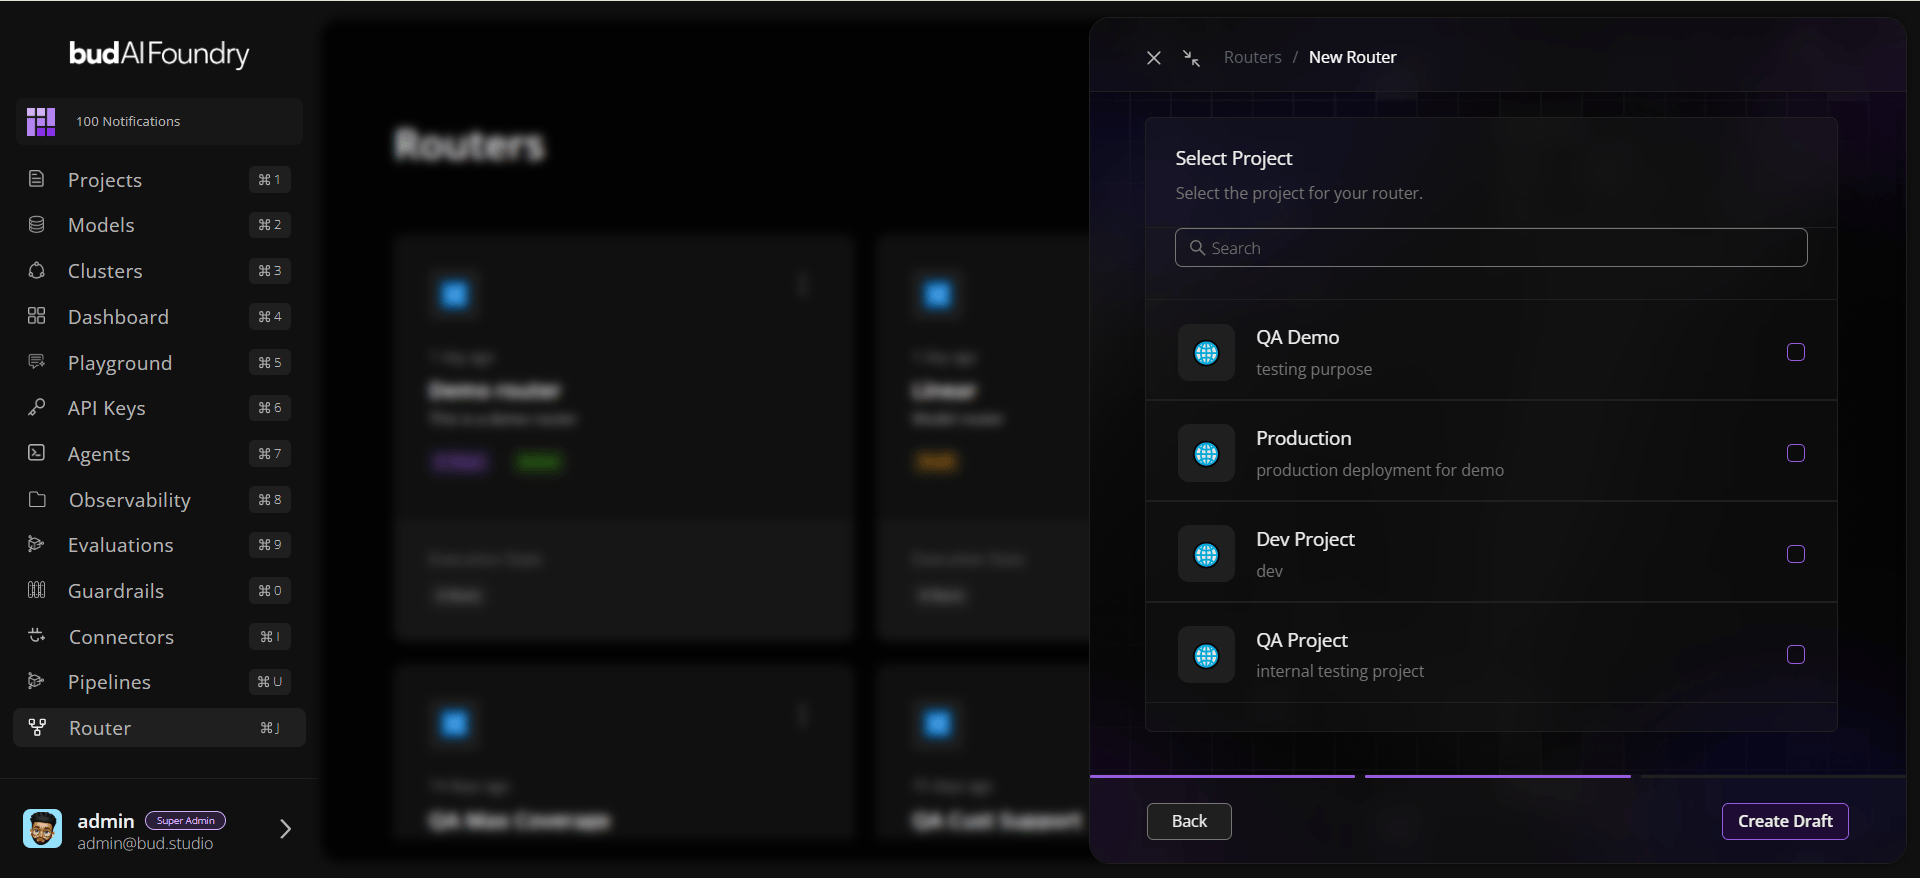
Step 3: Select a Project
- Search for the project that should own the router.
- Select the project row.
- Click Create Draft.
dag_config.
Step 4: Open the Router Editor
- Click View Router from the success screen, or open the router card from the Routers list.
- The detail page loads the router’s configuration and available data sources.
- The editor also fetches actions, so action labels, parameters, and categories match the backend catalog.
Step 5: Add Routing Actions
Start with a simple graph:- Add a Signal action to evaluate request metadata.
- Add a Decision action for rule evaluation.
- Add an Algorithm action to choose an endpoint.
- Connect the graph using allowed lanes:
- Trigger → Signal
- Trigger → Decision
- Decision → Algorithm
Step 6: Configure Parameters
Click each action and fill the required parameters. Depending on the action metadata, fields may reference:- Clusters
- Models
- Projects
- Providers
- Credentials
- Endpoints
- Weighted or ordered endpoint lists
- Content rules or string lists
Step 7: Save and Activate
Click Save. The UI maps editor steps intodag_config.steps, sets entry_step, preserves parameters and outputs, and updates the router with status active.