
Step 1: Open the Agents Surface
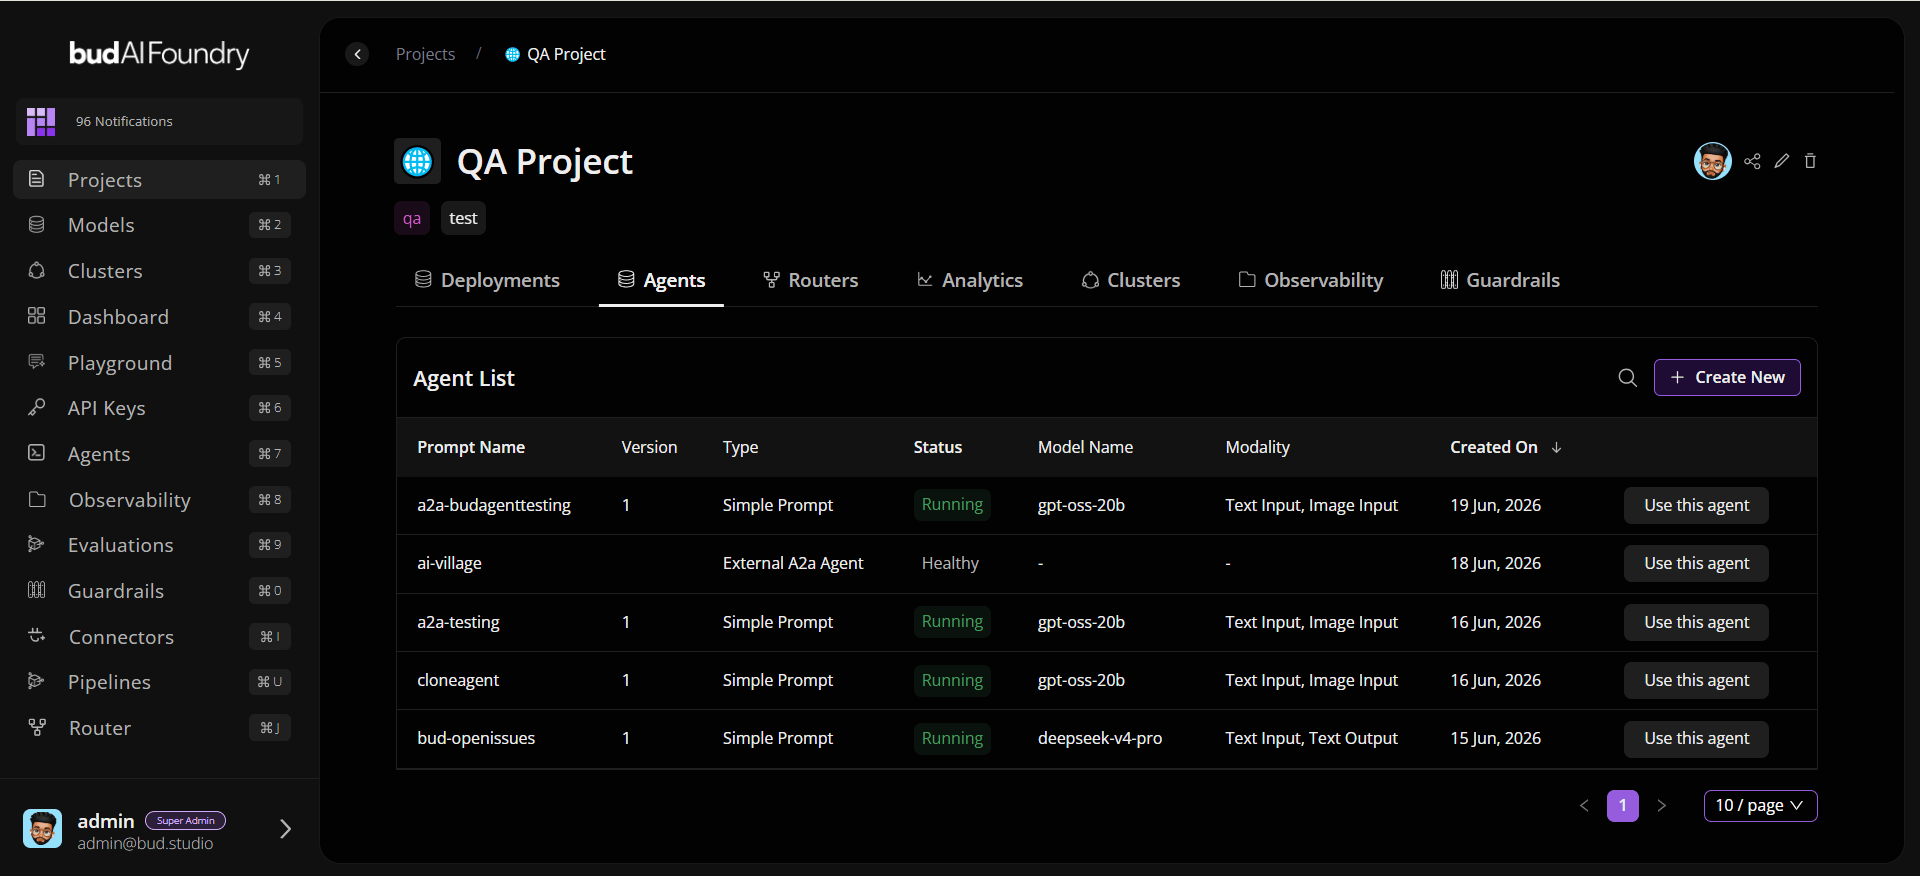
- Sign in to Bud AI Foundry.
- Navigate to a project.
- Open the Agents tab.
- Click + Create New.
Step 2: Start the Workflow
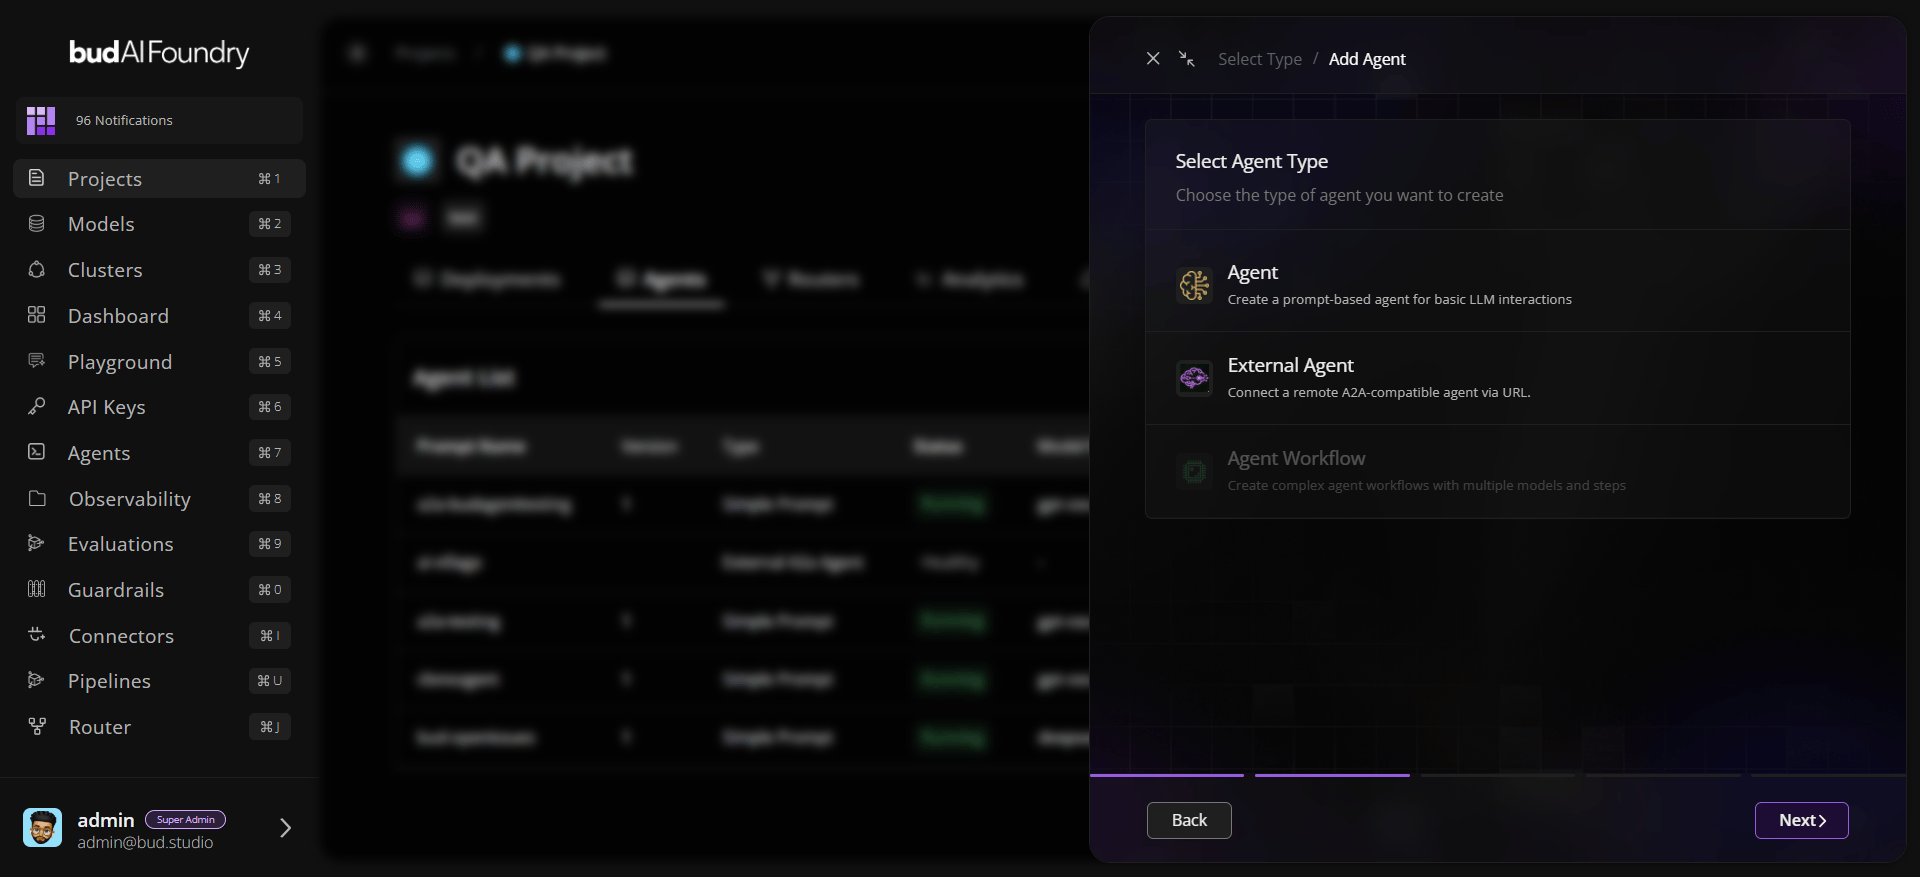
- Confirm project context.
- Choose an agent type.
- Continue to prompt configuration.
Step 3: Configure Prompt Behavior
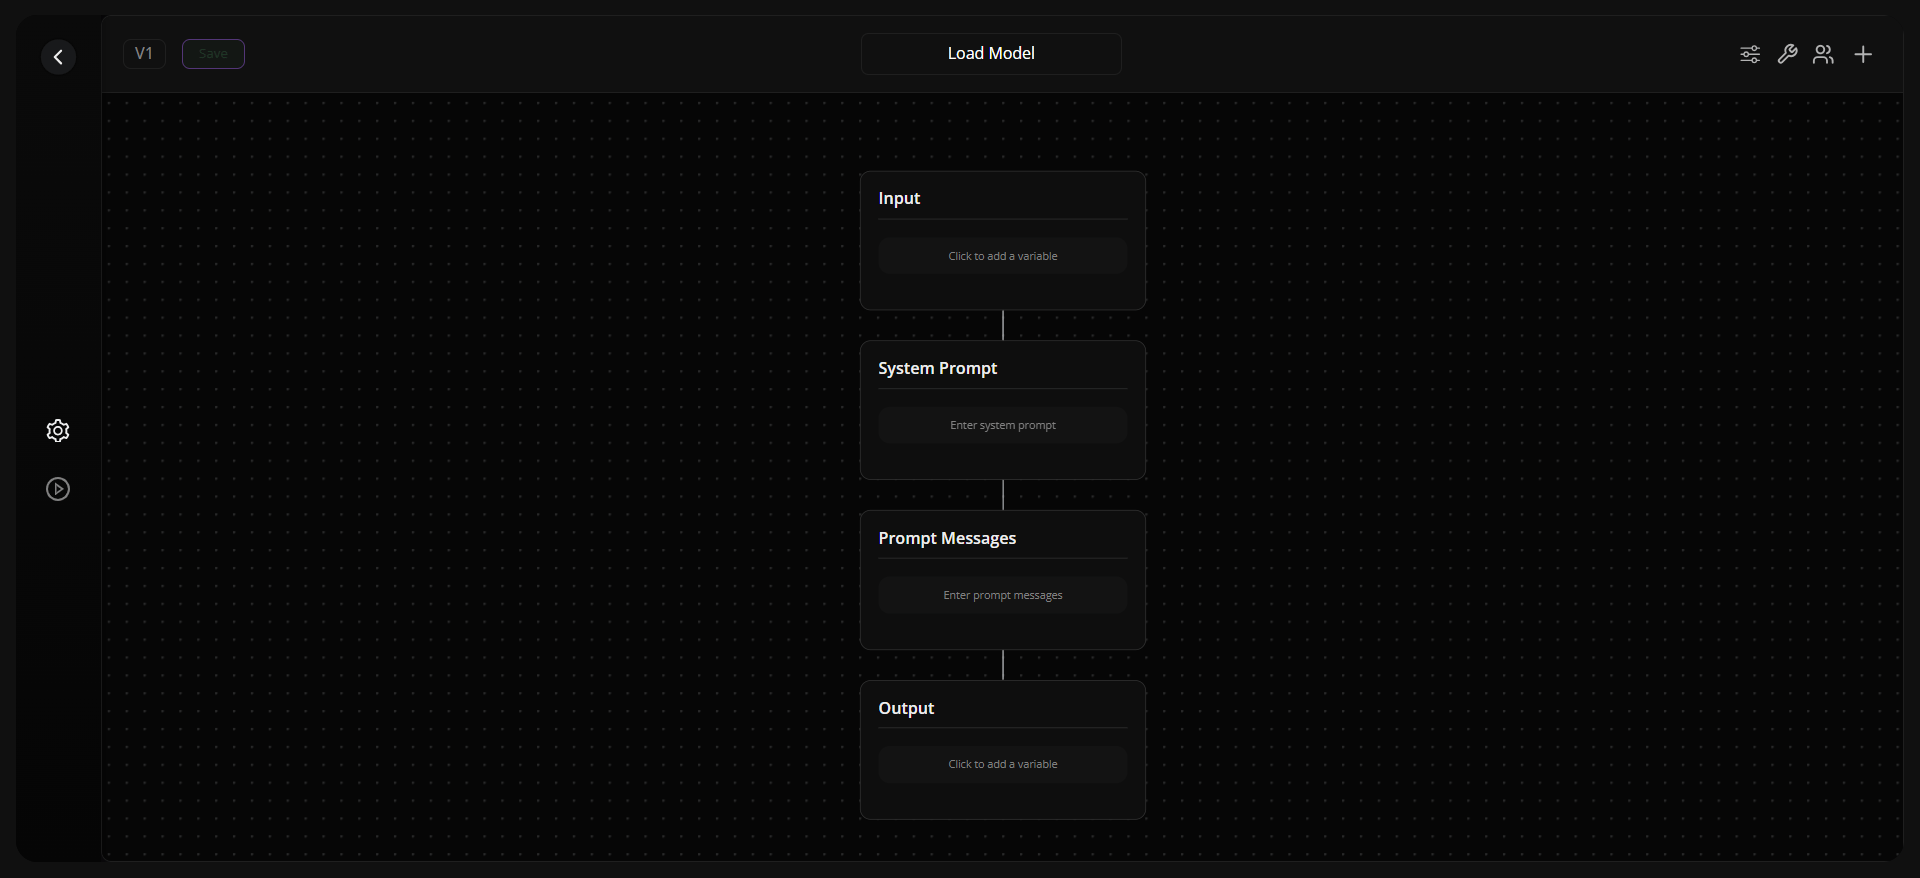
- Select the target model/deployment.
- Add a system prompt.
- Add user/assistant messages as needed.
- Optionally enable structured input/output and define variables.
Step 4: (Optional) Connect Tools
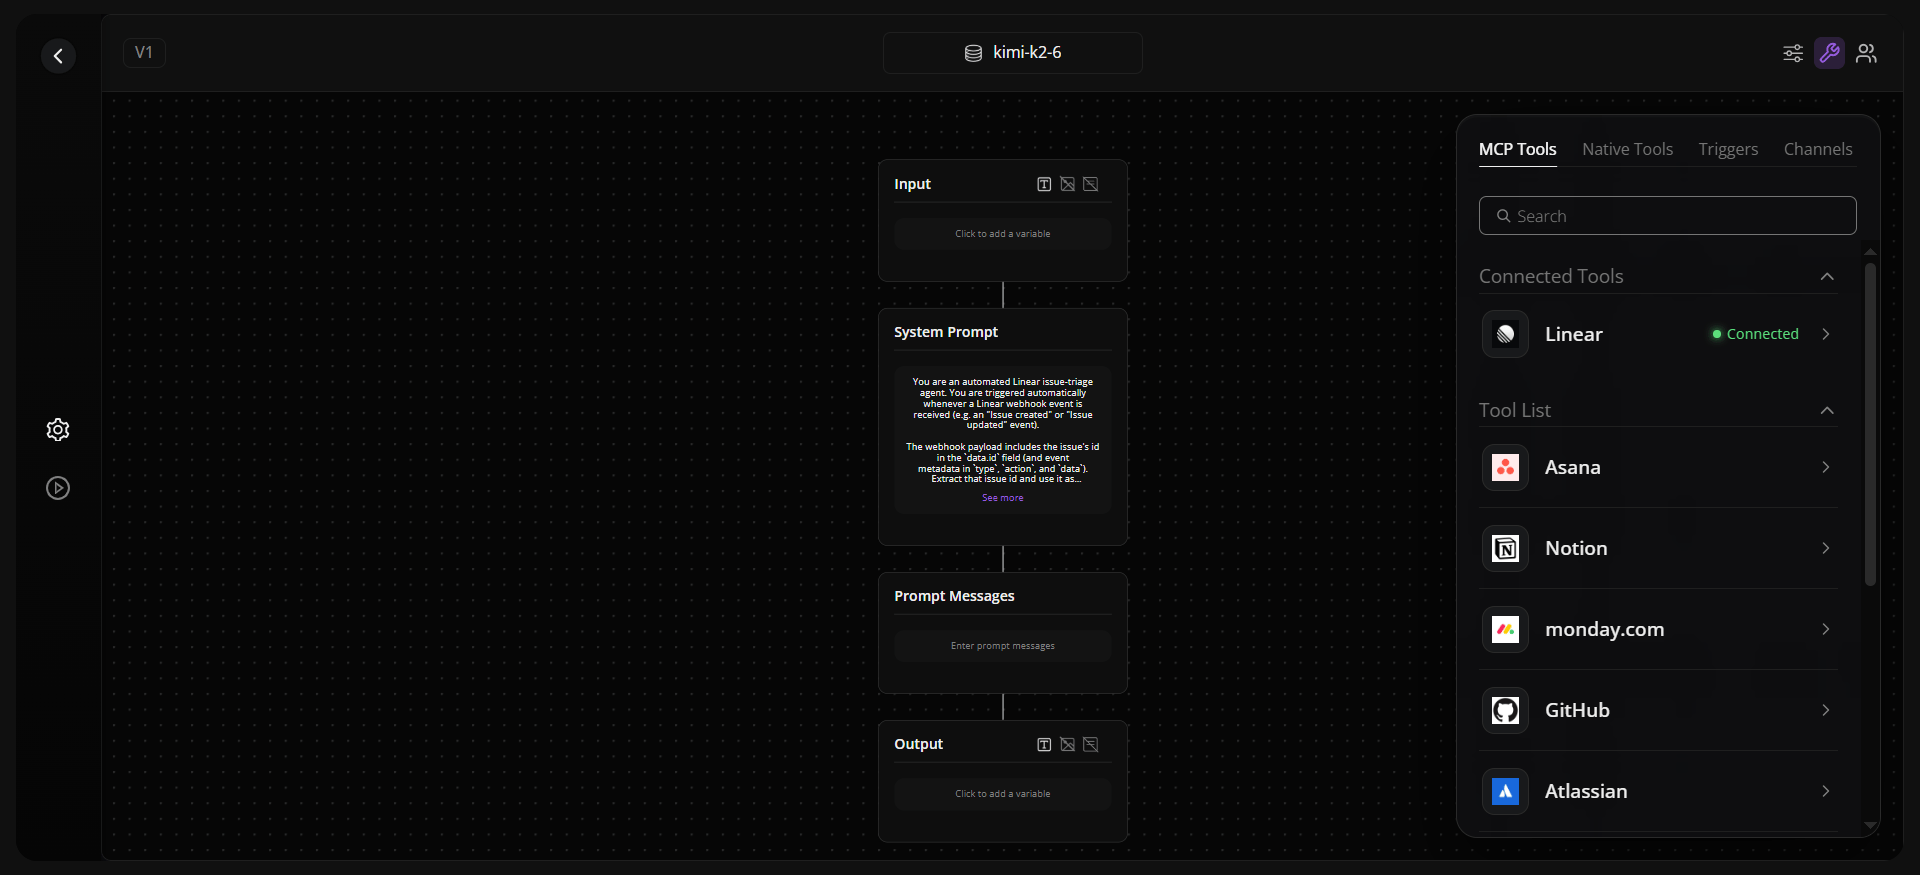
- Open the Tools panel.
- Search and select a connector.
- Complete credential flow (client credentials or authorization code).
- Confirm connector appears in the connected list.
Step 5: Run and Save
- Click Run Agent to validate behavior.
- Refine prompts/settings if needed.
- Save the agent.
Step 6: Reuse the Agent
- In the project table, click Use this agent.
- Copy cURL, Python, or JavaScript snippets.